How to manage the microphone and camera privacy settings on your Chromebook
Google Chrome allows it users to use video and audio communication seamlessly. It enables to utilize apps and various websites to broadcast the video and voice through browser. If you want to use a microphone, video, and audio by browser, Chrome will ask the user for the permission just to ensure camera privacy and mic settings. However, Android Power hub lets you avoid the consequences of distorting video or audio by changing the appropriate settings of the built in device. It is a best practice if you manage the camera privacy and microphone on the Chromebook.
Yes, getting a clear camera and best voice through the microphone is one of the issues, which often occur, so it is best to manage the mic or camera privacy settings on Chromebook. Every Chromebook has a mic and camera; just realize the place to glance.
Discover the settings
Chromebook will inevitably ask for the user permission when any web page uses mic and camera. You do not have to go through the multiple settings but to continue you have to take a look that what content websites have blocked and allowed to ensure mic and camera privacy.
- Click on Notifications icon. The icon is bell in shape near the account image.
- Now tap on Settings image and click on Advanced settings.
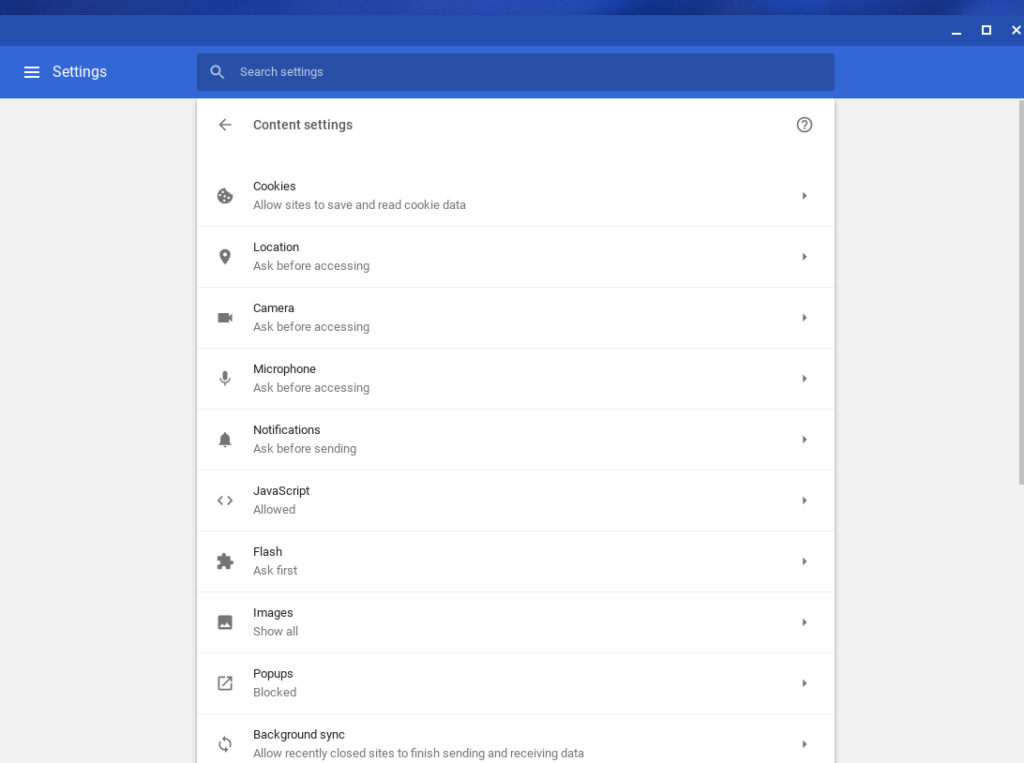
- Click Privacy, and you will be able to see the content material settings.
- Popup window will appear then scroll down to find Camera and Microphone written. Both have their specific settings so you can adjust them precisely according to your needs.
Changing the settings – Camera Privacy
- Now manage the settings of Camera privacy and microphone by following the procedure. Before making the changes, make sure to choose the tool for which you are changing the settings. If you own a separate camera or mic plugged into Chromebook, then you have to integrate the device and change their settings accordingly for built-in and plugged in device.
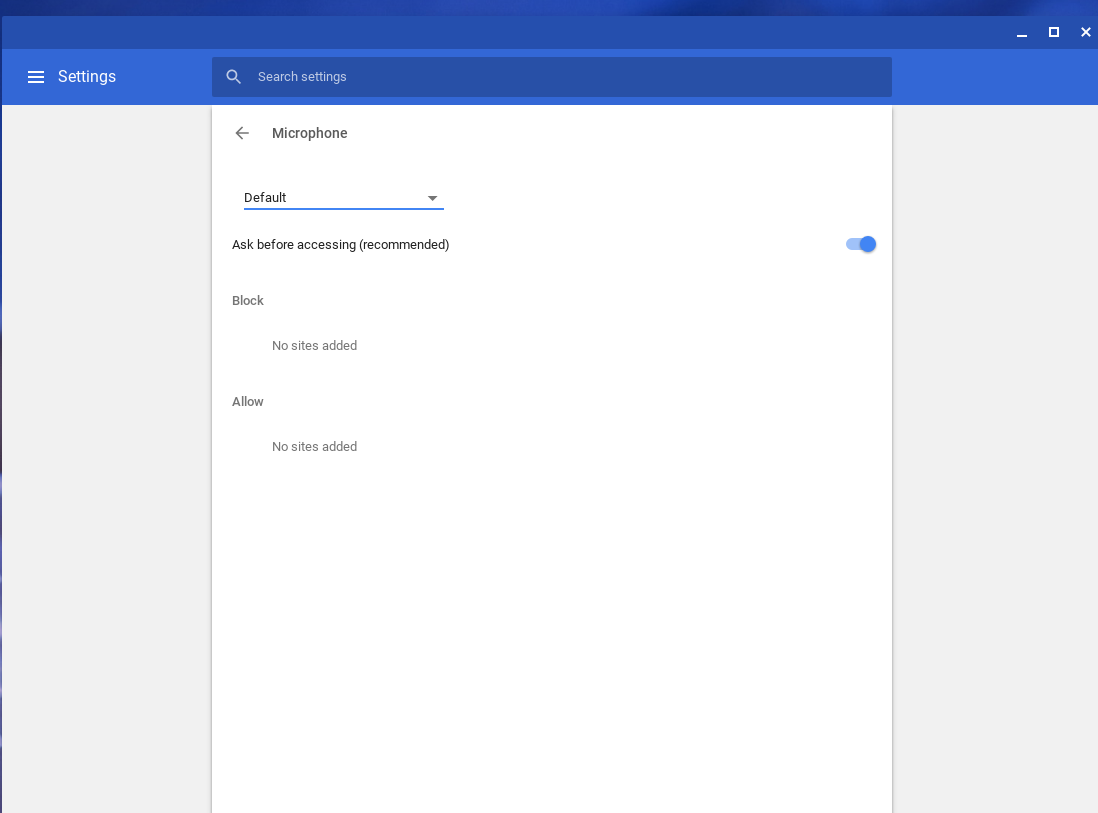
- You will see a switch, which says Ask before accessing. If the switch is on then, it will be blue in color, and when any site wants to access, the camera or mic for you, then a dialog pop up will appear and asks for your permission. You can easily allow access by switching the camera privacy and mic on.
- Next is the allow as well as Block list. These are the site which you have blocked previously or allowed access to use the camera or mic. You can add websites accordingly or can remove websites from the lists by clicking the X on the list.
Verdict
Browser settings for camera privacy and microphone options are essential. Just make sure that Chromebook is using the best settings that will secure your camera privacy. Companies ensure to provide safe and secure atmosphere for the clients, but you have to be very vigilant as a user regarding mic and camera privacy. Whenever any site makes use of your camera or microphone, you will be prompted.
Therefore, before accessing any site, just have a look at the lists which can have access to your camera or mic and remove the sites that do not needs to be in block list.
Android Power hub knows that it is important to look for the camera privacy settings and Chromebook provides flexibility to its users. So manage Camera privacy and mic settings as mentioned above, use camera and mic when you actually want them to happen.


